


Taking your camera out of “auto” mode can be one of the most rewarding travel experiences. We’ve asked family travel experts Erin and Josh Bender from the blog Travel With Bender to share practical photography tips that you can use straight away… and on your next vacation.
Can you relate to this scenario? You are on a dreamy vacation and want to capture that magical moment during your evening out on the town. But after you take the snap and review it on your camera’s LCD screen, it leaves you underwhelmed. You’ve seen inspiring night photos on Instagram, but feel frustrated you’re unable to replicate those.
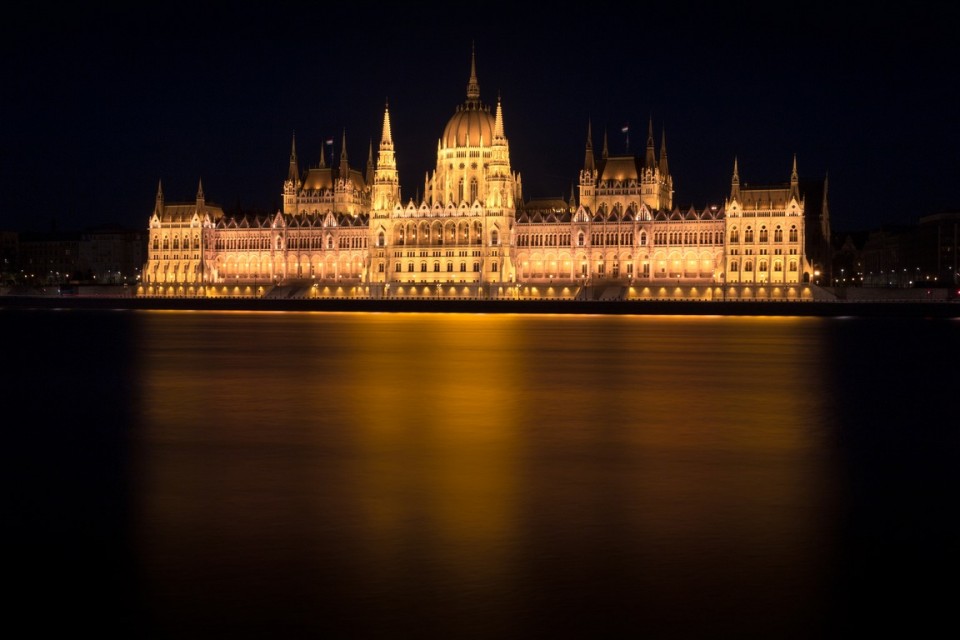 Parliament building in Budapest, Hungary with the Danube River in the foreground.
The good news is that you can take your photography to the next level with a little education and practice.
An easy place to start is a photography tour. I recently went on the NYC After Dark Photography Tour from NYC Photo Safari to brush up on my low-light photography skills. Our friendly guide, Zim, had over 20 years industry experience and was a treasure trove of knowledge.
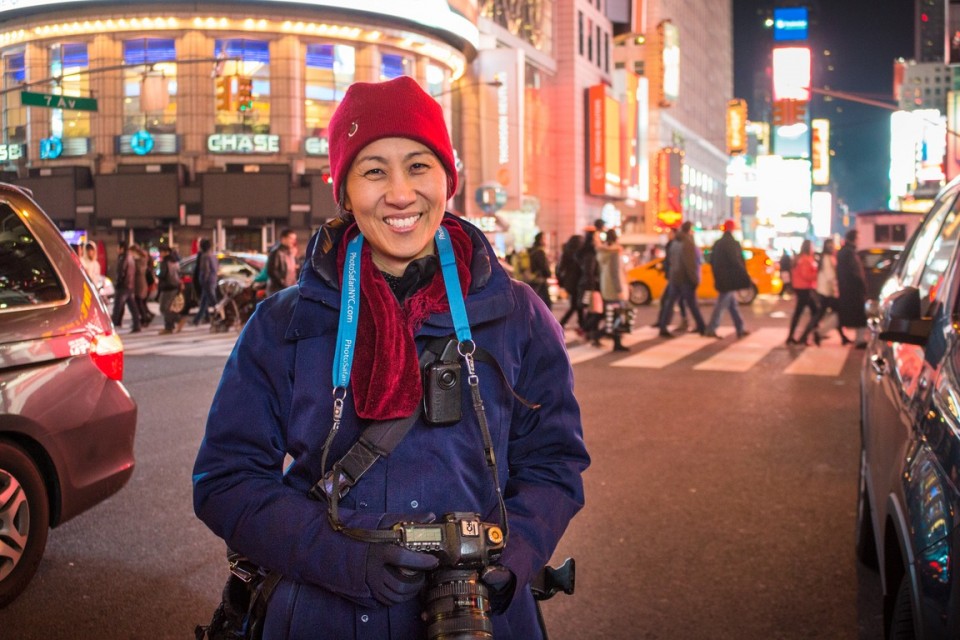 Photography tour guide, Zim, in Times Square, New York.
I remember what it was like years ago to dip my toe in the water of night photography and it can feel intimidating at first. But be encouraged, that you can take your digital SLR camera out of “auto” mode and capture beautiful night-time images too.
So here’s my 5 best night photography tips for beginners:
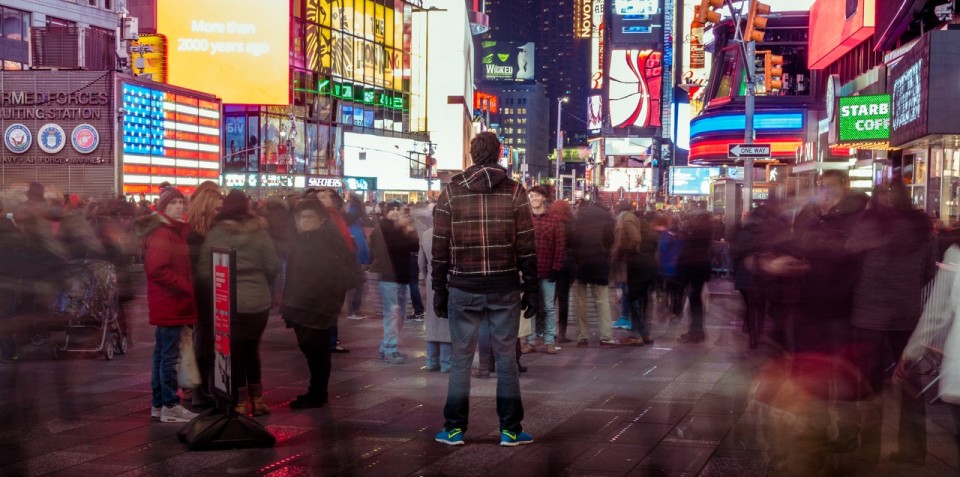 Self portrait in Times Square, New York.
1) Use a tripod
This is an essential tool for night photography. In order to capture the sharpest image possible with the least amount of noise (low ISO), exposure time will have to be longer than regular daylight photography. And that means your camera should be as still as possible.
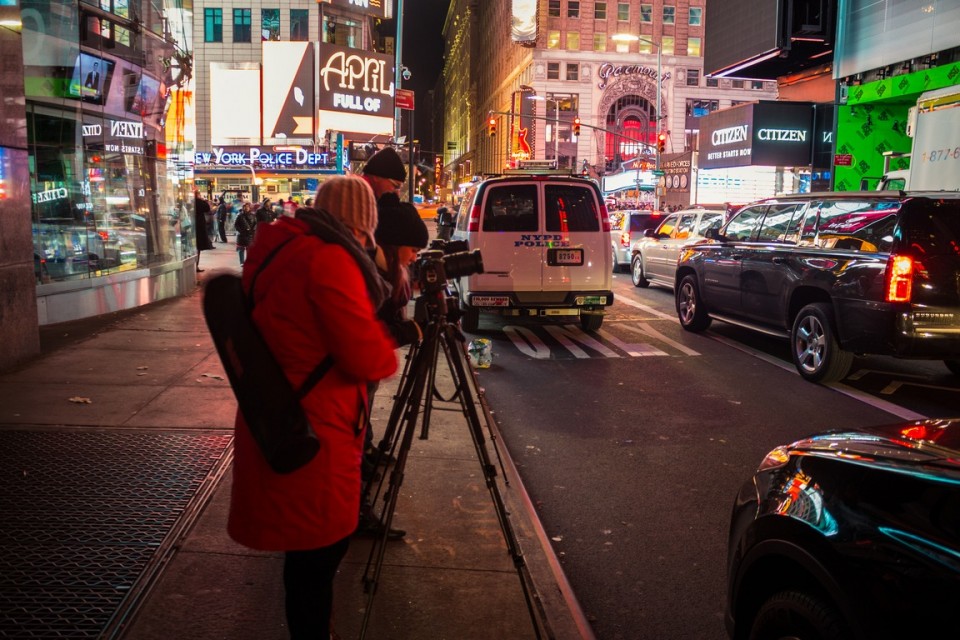
I currently use a Vanguard Alta Pro 254CT tripod (see all my photography gear), which works a charm but Vanguard also offers a travel-friendly VEO series which is smaller and lighter. Sturdy and solid are key. Anything too flimsy may move in the breeze.
If a tripod is out of your budget, set your camera on a wall, floor or sturdy platform.
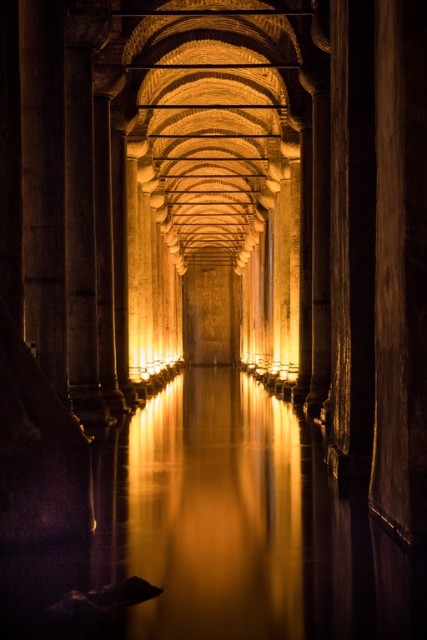
This shot in the Basilica Cistern, Istanbul, Turkey was taken on the floor since no tripods were allowed.
2) Shoot in RAW
If you aren’t already recording your photos in RAW format, now is a good time to start. RAW is a lossless format which means you’ll be able to obtain more detail later in post-processing.
Canon users: Go to “settings” menu then click “quality” and choose “RAW”.
Nikon users: Go to “shooting” menu then click “image quality” and choose RAW, then go to “image size” and choose “large”.
TIP: I use Adobe Lightroom for post-processing, which is the most popular software among photographers, for very good reason. It’s fast, powerful and easy to use.
 Northern Lights show on Parliament Hill in Ottawa, Canada.
3) Manual focus
Even pro-quality cameras can have difficulty automatically focusing in very low light situations. So look for the “AF/MF” switch on the side of your lens and move it to “MF”. Now you can turn the focus ring until the desired portion of the scene is in focus.
Because your subject may be far away or dimly lit, it’s best to use “live view” mode (your camera’s LCD screen) to see more detail. Modern DSLRs will allow you to zoom in multiple times, which is the key to capturing tack sharp night photos.
Canon users: more details on “live view”
Nikon users: more details on “preview zoom”
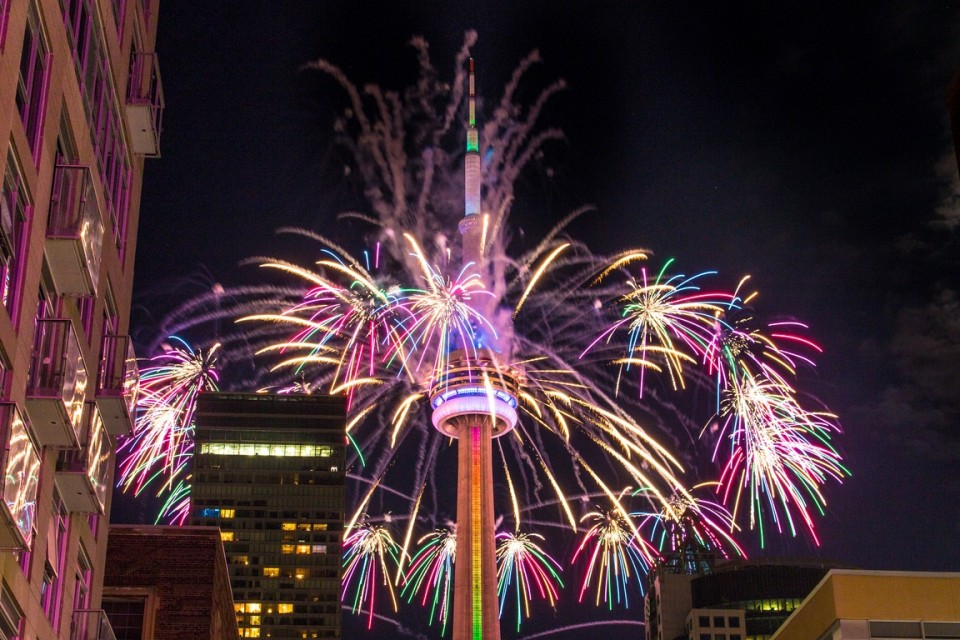 CN Tower in Toronto, Canada.
4) Turn off image stabilization
If your lens supports “vibration control” or “image stabilization” (same thing with different name, depending on the manufacturer), then turn it off when using a tripod. While it can be very handy for hand-held shooting, it will only add subtle vibrations and blur to your final image when using a tripod.
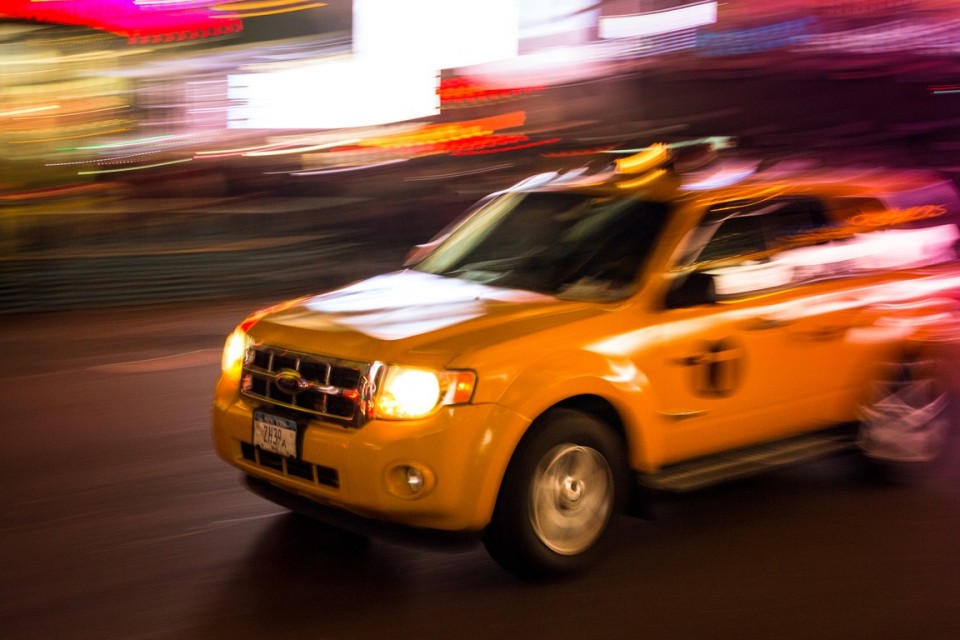 Handheld panning in Times Square, New York.
5) Use remote release or built-in timer
Pressing the shutter button on your camera will produce vibration, and vibration is the enemy of a tack sharp night photo. There are two ways to avoid this – buy a remote release or the free option, use the camera’s built-in timer.
The majority of cameras support 2- and 10-second timers and exposures of up to 30 seconds. However, if you want to go longer, then switch the dial to “bulb” (B) mode. The catch is that you either need to hold onto the shutter button the entire time (and risk adding vibration) or use a remote release. My Canon EOS 70D has built-in Wi-Fi, so I can use my smartphone as a remote release.

Times Square in New York City, New York.
The Last Word
These tips are just the start of mastering night photography. I hope you’ve found them useful and will feel more confident next time you step outside to capture our beautiful world, day or night.
Erin Holmes
Latest posts by Erin Holmes (see all)
- 5 bucket list animal experiences worth traveling for - January 3, 2022
- 5 ways to actually enjoy flying economy - January 18, 2020
- 21 surprising things you CAN take on a plane - November 12, 2019
Travelocity compensates authors for their writings appearing on this site; such compensation may include travel and other costs.


